


Roles and access
Understand how roles and permissions decide which menus, buttons and approvals you see, and who to ask when something is missing.
- Where to find it
- Company settings > General > Roles
- Who can use it
- Anyone can read this page. Seeing the list of roles needs the View Roles permission. Creating or changing a role needs Add or Edit.
A role is a named set of permissions. An administrator gives each person one or more roles, for example SITE ENGINEER or PROJECT MANAGER. The roles decide what you can see and do in Superwise. If a menu item or a button is missing, your roles do not include the permission for it.
How permissions work
A permission has two parts: an area and an action. An area is a part of Superwise, such as Purchase Orders or Material Deliveries. The actions are:
| Action | What it lets you do |
|---|---|
| View | Open the screen and read the records. The menu item appears. |
| Add | Create new records. The create button appears. |
| Edit | Change existing records. |
| Approve | Approve or reject records. |
| Delete | Delete records. |
If you have more than one role, Superwise adds their permissions together. If any of your roles has a permission, you have it.
What you can see on your own screen
- Your roles are written in the account menu and on your profile.
- A menu group appears only if you can View at least one screen in it. See Find your way.
- The list Needs your action on the dashboard shows a kind of record only if one of your roles can Approve it.
- Company settings appears only if your roles allow the company pages.
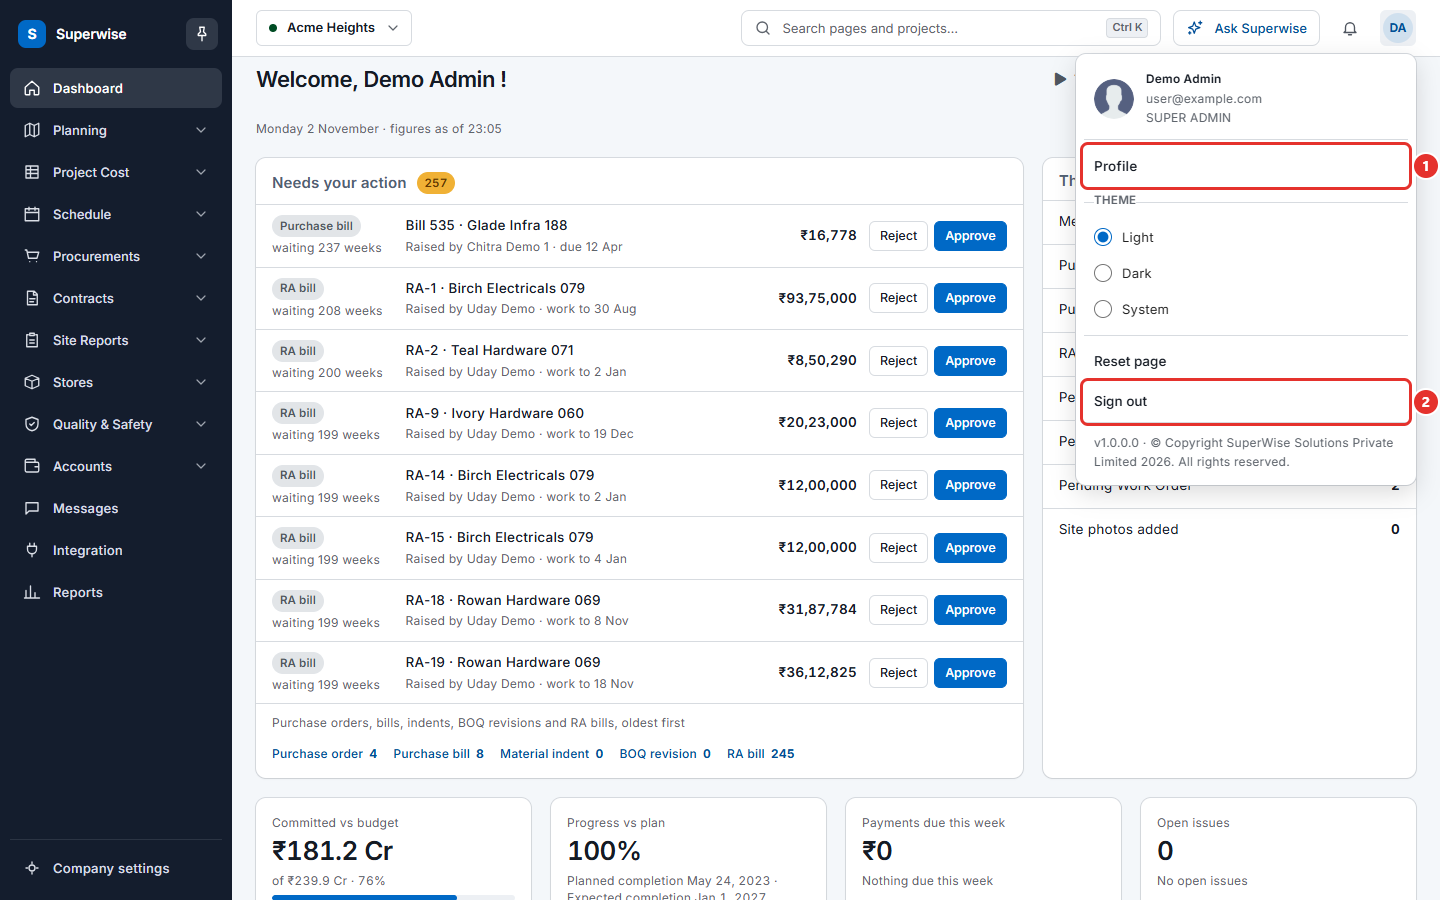
How to see the roles of your company
- Click Company settings at the bottom of the left menu.
- Click General, then Roles.
The list has two columns: NAME and REPORTS TO. REPORTS TO shows the role above this role.
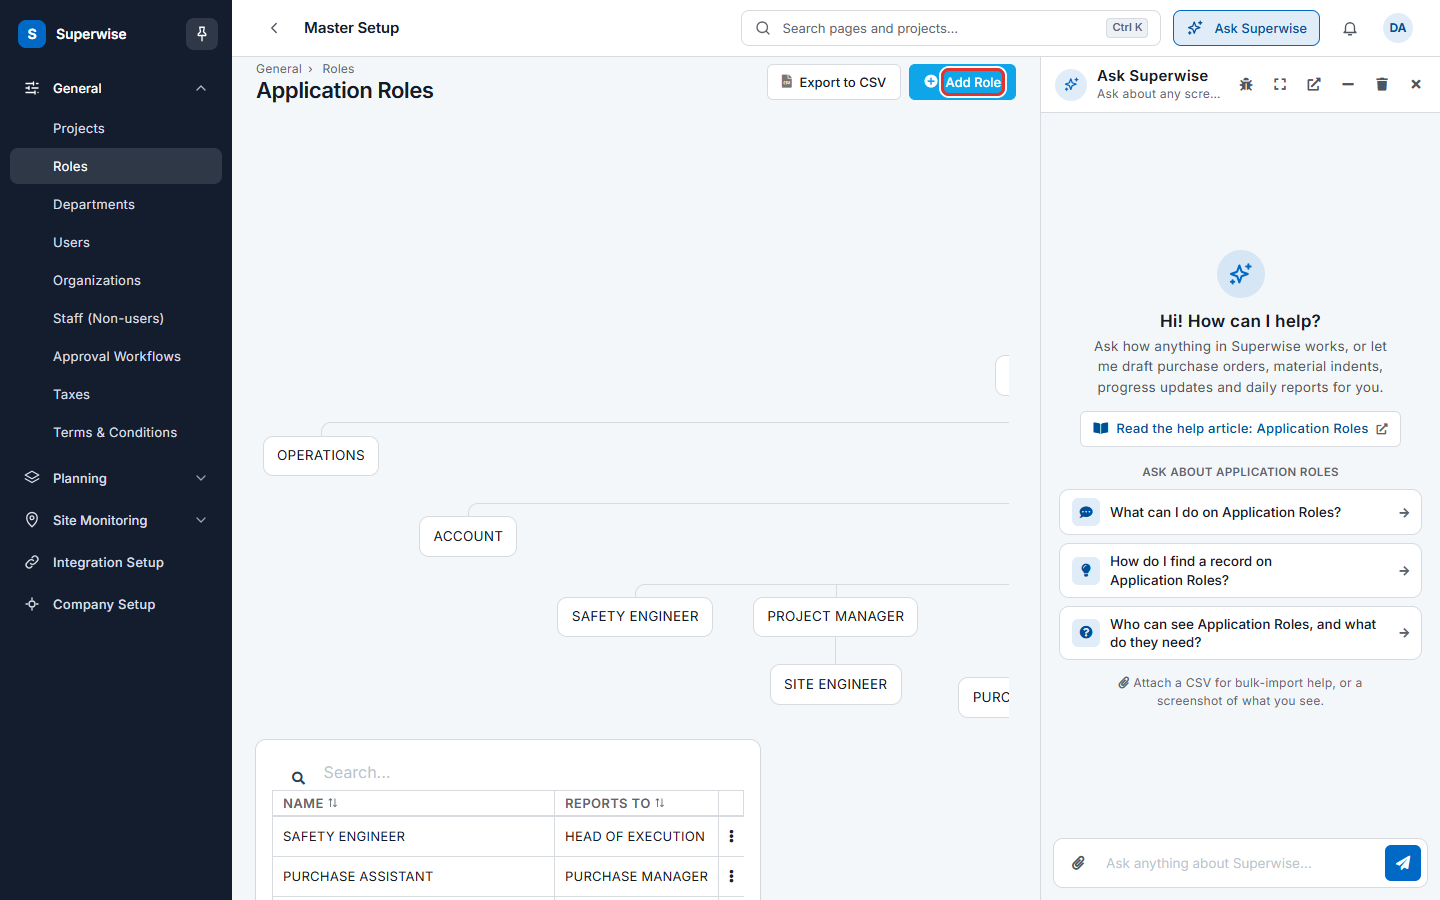
How to create a role
You need the Add permission for Roles.
- On the list of roles, click Add Role (mark 1 in the picture above).
- Type the name in Role Name (mark 1 in the next picture).
- Choose Reports To (mark 2) if the role has a role above it. This is optional.
- In the table, tick the actions this role may do for each area. Use All to tick every action of one area.
- Scroll to the bottom of the form and click SAVE.
The table groups the areas, for example Masters, Project Setup and Site Report. Each row is an area. The columns are View, Add, Edit, Approve and Delete.
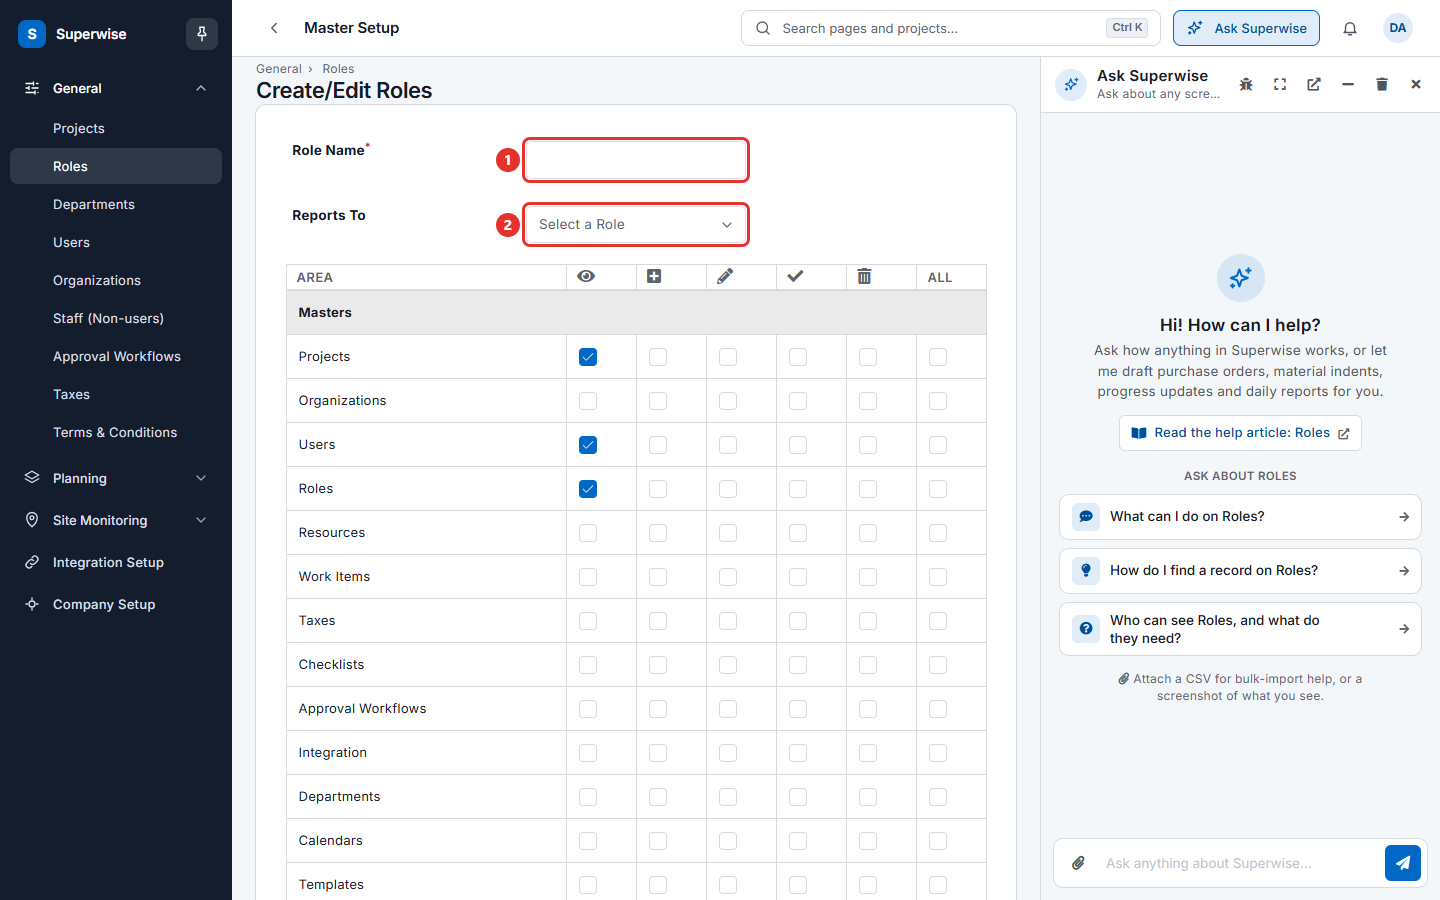
How to give a role to a person
An administrator does this in Company settings > General > Users. On the user form, choose one or more roles in Roles. The field is required. The form also has Projects and Departments. See Users.
Who to ask
| Problem | Ask |
|---|---|
| A menu item is missing | Your administrator. Ask for the View permission on that area. |
| A button such as Approve is missing | Your administrator. Ask for the Approve permission on that area. |
| A project is missing from the project picker | Your administrator or project manager. You may not be added to that project. |
Rules to know
- A missing menu item means no permission. It does not mean the feature is gone.
- Permission is checked for each area. You can approve purchase orders and still not approve RA bills.
- The approval workflow of a record also decides who approves each step. See Approvals in plain words.
- Changing a role changes the access of everyone who has it.
If something goes wrong
| What you see | What to do |
|---|---|
| You can open a list but there is no create button | Ask for the Add permission. |
| You can open a record but cannot change it | Ask for the Edit permission. |
| Needs your action says "Nothing is queued for you" | Your roles do not have Approve permission for these records on this project. |