


Create a material transfer
Send material from your project to another project. Choose the receiving project, add the materials and quantities, and save.
- Where to find it
- Stores > Material Transfers
- Who can use it
- People who have the Add permission on Resource Transfers. Editing a transfer needs Edit.
Use this form when your project sends material to another project. The form takes the sending project from the project selector at the top of the screen. You choose the receiving project and list the materials.
Before you start
- Select the sending project in the project selector.
- Make sure the material is in stock in the sending project. See Material inventory.
How to create a transfer
- Open Stores > Material Transfers.
- Click Create. The form opens.
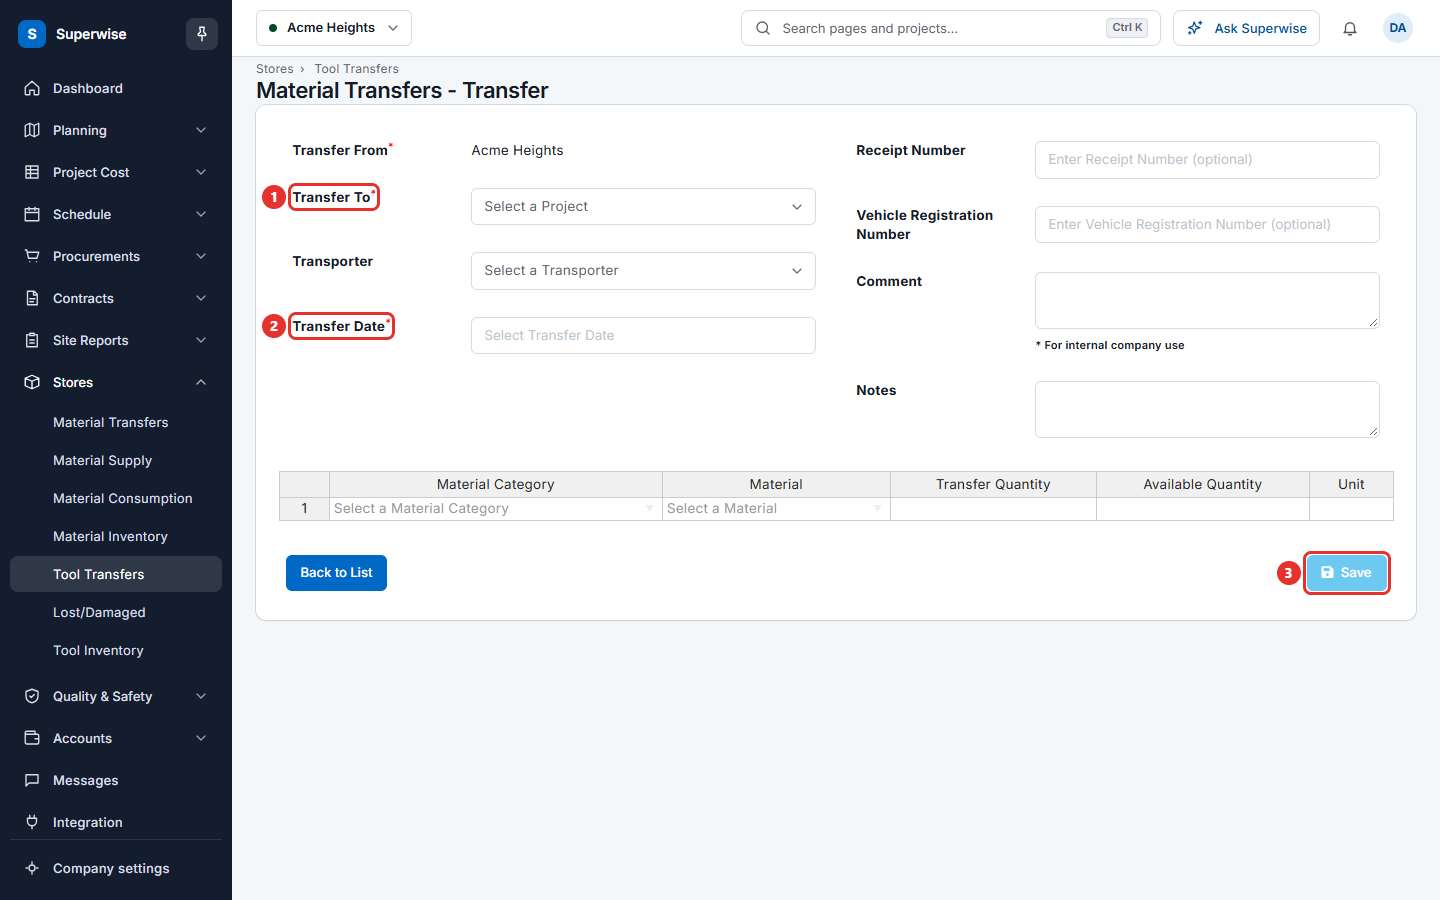
- In Transfer To, choose the receiving project (mark 1). The sending project is shown in Transfer From and you cannot change it.
- In Transporter, choose the transporter. This field is optional.
- In Transfer Date, choose the date and time (mark 2). You can choose a date up to 2 days ahead. You cannot choose a later date.
- Type the Receipt Number and the Vehicle Registration Number if you have them. Both are optional.
- Use Comment for notes that stay inside your company. Use Notes for notes that the receiving site should read.
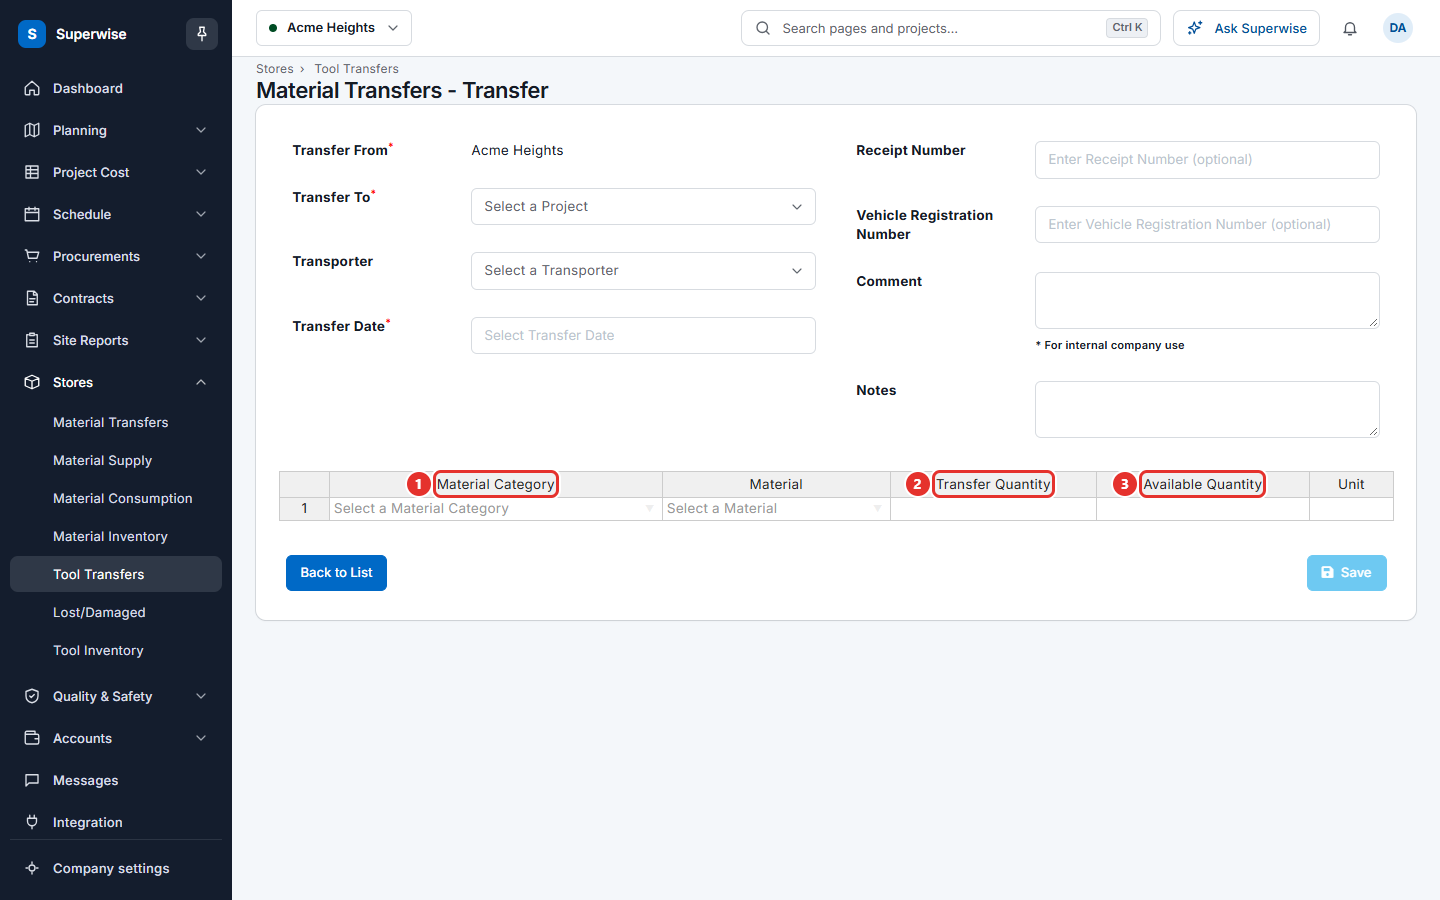
- In the table below the form, add one row for each material. In Material Category, choose a category. In Material, choose the material. In Transfer Quantity, type the quantity.
- Click Save. The list opens again and the new transfer has the status Initiated.
Click Back to List to leave without saving.
What the table columns mean
| Name | What it means |
|---|---|
| Material Category | The group of the material, for example Cement. The list shows only the categories that are in stock. |
| Material | The material to send. The list shows only materials with stock in the sending project. |
| Transfer Quantity | How much you send. Type a number above 0. |
| Available Quantity | The stock of the sending project. The screen fills it. You cannot change it. |
| Unit | The unit of the material, for example bags. The screen fills it. |
How to edit a transfer
- In the Transferred tab, click the three dots at the end of the row.
- Choose Edit. The same form opens with the saved values.
- Change the values and click Save.
Rules to know
- The receiving project must be different from the sending project.
- Each material can appear in one row only.
- Every Transfer Quantity must be above 0 and not more than the Available Quantity. When you edit, the quantity already in this transfer counts as available.
- All rows of one transfer must be the same kind. You cannot mix materials and tools.
- You can edit a transfer only while its status is Initiated.
Note: The stock of the sending project goes down when you save. The stock of the receiving project goes up only after the receiving site records the receipt.
If something goes wrong
| What you see | What to do |
|---|---|
| Duplicate Material are not allowed | A material is in two rows. Keep one row and add the quantities. |
| Please mention the Material to be transferred | The table has no rows. Add at least one material. |
| Transfer Quantity cannot be less than or equal to 0 (zero) for any | Type a quantity above 0 in every row. |
| Transfer Quantity cannot be greater than Available Quantity | Lower the quantity to the stock of the sending project. |
| Source and Destination project cannot be same. | Choose another project in Transfer To. |