


Site monitoring masters
The lists you set up once for site work, such as resources, checklists and reason lists, and the order to fill them in.
- Where to find it
- Company settings > Site Monitoring
- Who can use it
- People who can see the Site Monitoring group in the Company settings menu. Each list needs its own View permission.
A master is a list that you set up once and pick from later. The Site Monitoring group holds the masters that site teams use every day. Examples are the materials they receive, the forms they fill, the reasons for cash expenses and the types of issues they report. You set them up here once for the whole company. Every project then picks from the same lists.
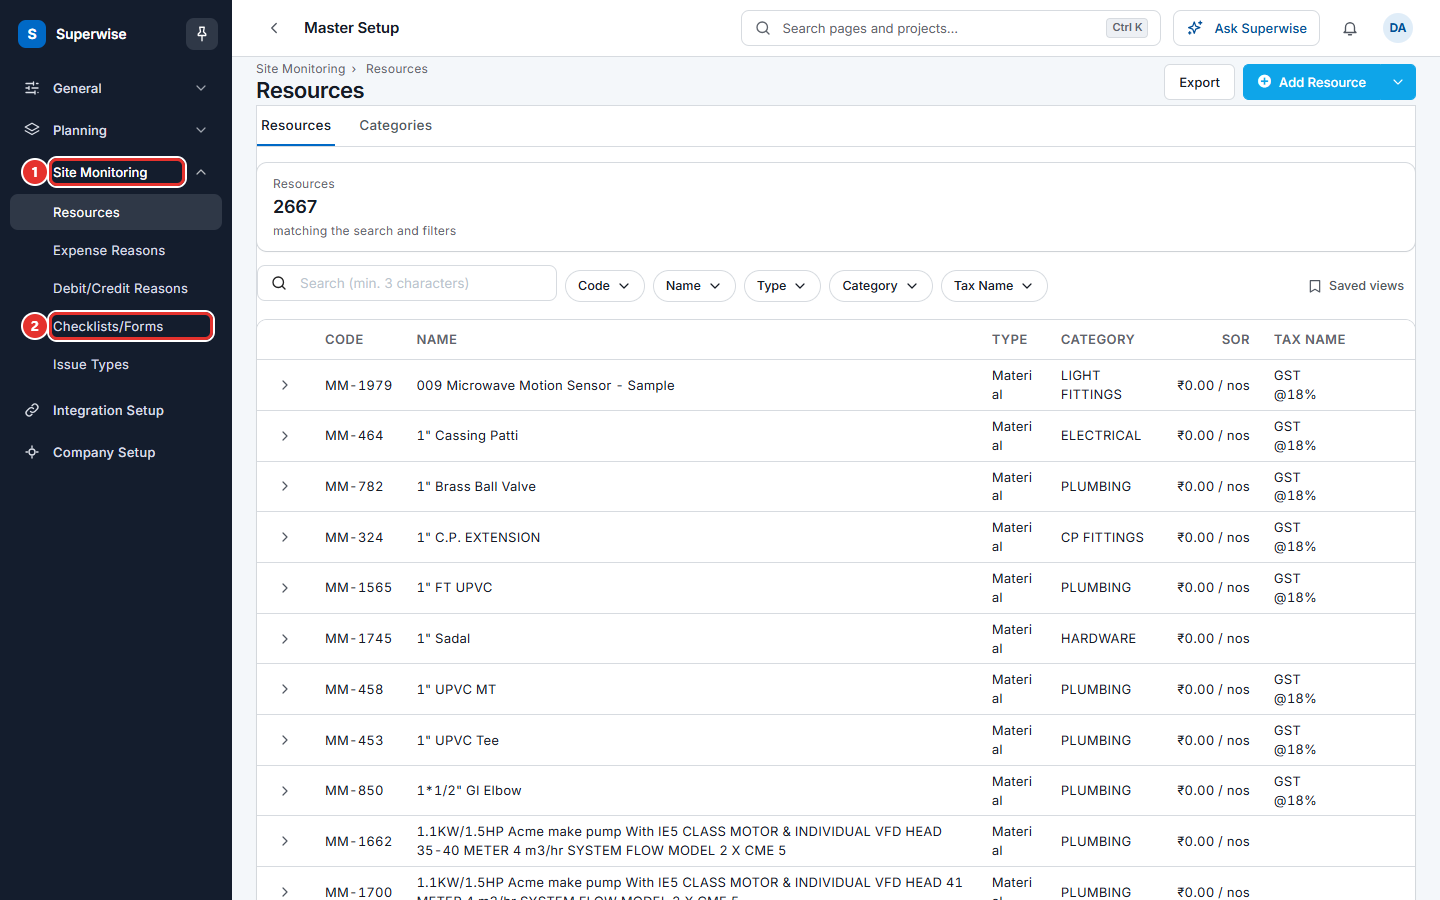
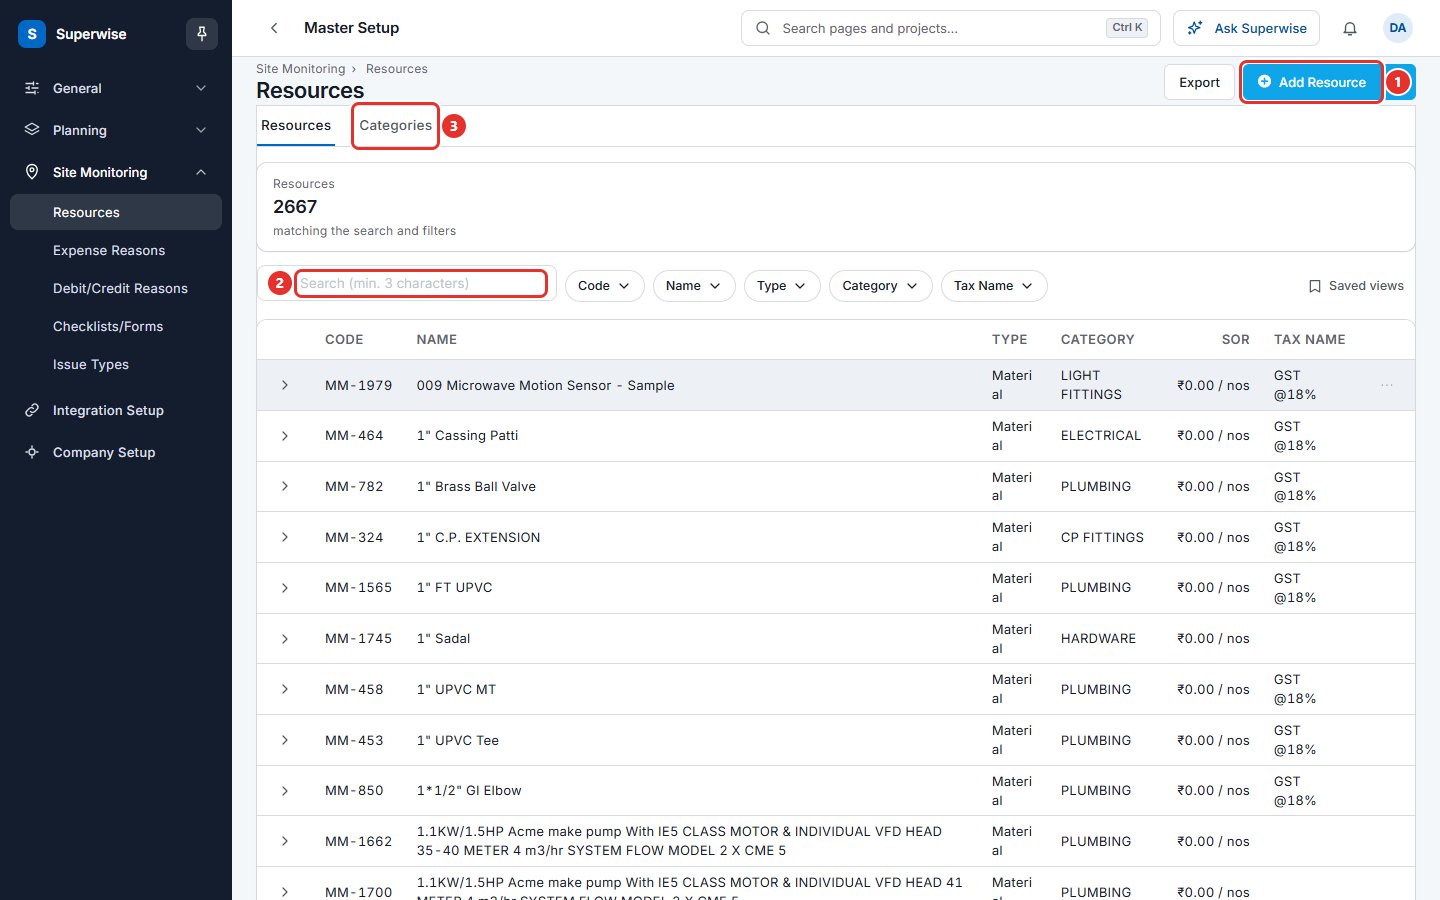
Open Company settings > Site Monitoring to see the five lists. Each list is a page like the one below, with a table, a search box and a button to add an item.
When to use these pages
- Before the first project starts, to load the resources and forms your company uses.
- When a new material, machine or type of labour is needed.
- When site teams need a new form, reason or issue type.
The order to fill them in
- Resources. These are materials, labour, machinery, tools and other items. Start here, because purchase orders, deliveries, stock and rate analyses all pick from this list.
- Checklists. Build the forms that site teams fill. A resource can use a checklist as a quality check at delivery, so build the checklists before you set that on a resource.
- Expense reasons. The reasons for small cash expenses.
- Debit / credit reasons. The reasons for debit notes and credit notes to suppliers.
- Issue types. The categories and titles of problems that site teams report.
What happens next
Site teams choose items from these lists on their daily pages. For example, they pick a resource when they receive a delivery. They pick a reason for a cash expense. They pick an issue type when they report a problem. The checklists you build appear for the projects you assign them to.
Rules to know
- You see a list in the menu only if you have its View permission. Expense Reasons and Debit/Credit Reasons also need permission for the module they serve: cash expenses and vendor ledger.
- You cannot delete an item that records already use. Each page lists the messages you may see.
Related pages
- Planning masters: packages, templates, work items, calendars and document lists.
In this section
- ResourcesSet up the list of materials, labour, machinery, tools and other items that you buy, receive and use on site, and group them in categories.
- ChecklistsBuild the checklist forms that site teams fill, with the questions, who fills them, how often and who approves.
- Expense reasonsSet up the list of reasons for small cash expenses on site, such as Travel or Printing.
- Debit / credit reasonsSet up the list of reasons you give when you raise a debit note or a credit note against a supplier.
- Issue typesSet up the list of issue types, each with a category and a default priority, that site staff choose when they report a problem.